I hope last month’s temperature bump was a good incentive to get folks out and about. Now that the weather has dipped back into the -20, -30, –neveryoumind degrees Celsius, we continue on with Part II of our winter layering tutorial. Our agenda includes how those layers can be applied to cold weather activities and the necessity of accessories for your extremities. Bonus Material Alert: my former retail colleague and outdoor expert, Scott Sutherland, shares his layering experiences. Miss out on Part I of this blog? No problem, we’ve got you covered (pun definitely intended).

Re-touque!…errr, Recap!
Part I of our blog introduced the three kinds of layers and the fibres that should make up the fabric they are made of. Moisture management (yes, that would be sweat) and heat retention are the goals of proper layering for cold weather activities in order to keep you comfortable. This will help to ensure that we keep our cozy little microclimate for our bodies running at an optimum temperature, which is a lovely 37 degrees Celsius (give or take 0.5 degrees). Items should fit close to the body, but not be restrictive.
| Base Layer | Next to skin, primary function is moisture management. | Made of polyester or wool. |
| Mid Layer | Applied on top of base layer, primary function is insulating. | Shell is polyester, interior fill is polyester or down. |
| Outer Layer | Exterior shell, primary functions are sealing in heat and protecting from environmental elements. | Made of polyester, nylon. Generally have a durable water repellant (DWR) coating. |

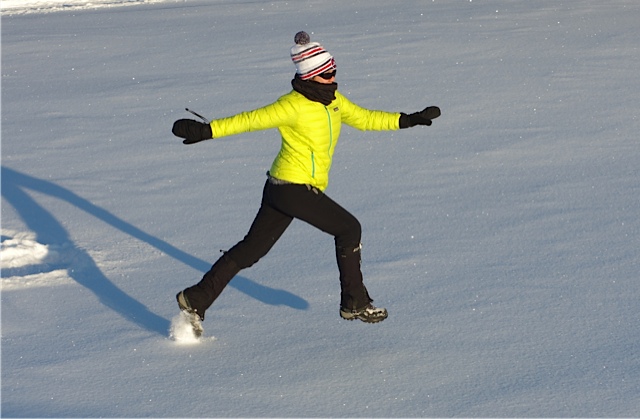
The more physical exertion your body experiences, the more likely your body will generate heat and sweat. Great examples of this are winter running and nordic skiing. This will mean using a lighter combination of layers, or elimination of the outer layer, which can seem daunting in colder temperatures. Short walks in the city or a casual hike on the paths in the River Valley (it’s an Edmonton and Camrose can’t-miss) may require less exertion than a run or ski, and could use warmer layers as a result. Everyone is different. Getting the right combination of layers takes a bit of trial and error to determine what works best for you, but it will make a difference in the overall quality of your experience. As I mentioned in Part I, if you’re a little wussy about the cold like I am, overdress and bring a little backpack to shove unwanted layers in mid-walk.
Speaking of touques…(and other extremities)
In all forms of extremity protection (touques, headbands, balaclavas, tubes, scarves, gaiters, mitts, gloves) items should fit close to your body; too loose of a fit will mean your sweat has no where to go, and heat cannot be trapped; too tight and you risk impairing your circulation and causing major discomfort. Check their fabric content to make sure they are made of either wool or synthetic materials; no cotton! Choose whatever design suits your needs the best (the activity, the weather). There are numerous variations on the market that can mimic the same weights and styles as base, mid and outer layers. My personal preferences are variations of touques and mittens, and I will never leave the house in the wintertime without some version of them.

Footwear
Proper winter footwear will help maintain heat and improve your grip in cold temperatures (much like winter tires are recommended for winter driving). The rubber composites are designed to flex and maintain traction in colder temperatures, and are designed with more aggressive lugs to help shed snow. Winter footwear is generally water resistant, if not waterproof, and they have better insulating properties in the linings and footbeds to improve heat retention. For short hikes you could probably get away with a summertime waterproof hiking boot, but again it is up to your discretion in terms of the outside temperature, the duration of your hike and what terrain conditions are (ie: bare sidewalks with minimal snow & ice versus traipsing through the river valley in snow up to your nostrils). All this is better supported when you wear synthetic or wool socks, not cotton, to help with moisture management (just like the layers for the rest of your body).
Personal Preferences are Key
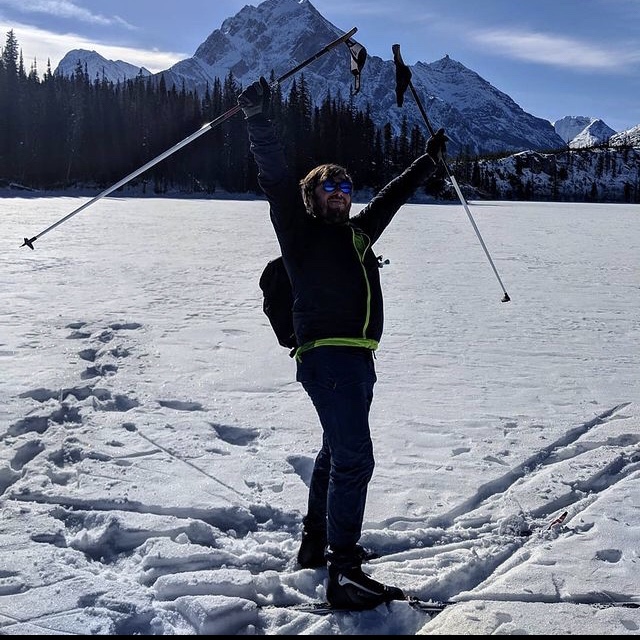
A big ol’ sack of thanks (and a future batch of perogies) to my friend and former retail colleague, Scott Sutherland, for his willingness to weigh in on his own layering experiences. Scott is one of those avid outdoorsy types who makes the most of every kind of weather in all four Canadian seasons. A competitive road cyclist, happy-go-lucky camper/hiker and enthusiastic nordic skier, Scott utilizes layers on every adventure he goes on to stay comfortable and safe.
“I heat up and sweat pretty easily, so for high output activities I use synthetic base and mid layers to get me through most of the year,” Scott explains, “I usually don’t use heavy shells (outer layers) because it means that I will usually cook myself, and get away with using a light windbreaker to help shed the elements. If my activity level is low, like while sitting around a campsite, I’ll adjust my mid layer from synthetic to down for increased heat retention and coziness. “


Layers are your armour!
Safety is something that cannot be emphasized enough when adventuring, and proper clothing layers will help protect you. As we get deeper into the winter season, folks will be taking advantage of outdoor recreational opportunities like winter hiking, cross-country skiing, and (my personal fave) snowshoeing. I remember viewing an article on CBC that reported on the rescue of three improperly dressed (frozen jeans and sneakers) hikers after they went off-trail on Mt. Fromme in North Vancouver.
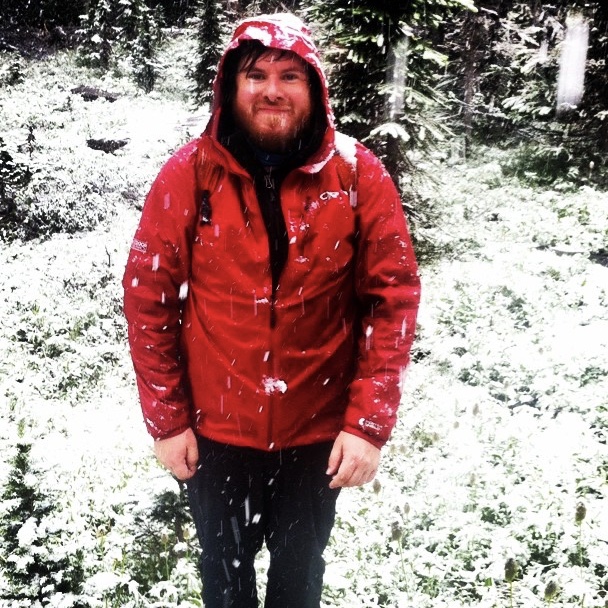
Scott and some fellow colleagues went on an afternoon hike to Burstall Pass in mid-July 2014. It was their preparedness with clothing that made the difference when trouble hit and there was no shelter available to protect them. “It was sunny and somewhat decent weather going in. As we got closer to the summit things clouded over and snowed,” he explains, “The weather changed really quickly and it started to show signs of a nastier storm threatening to come through. It got to the point where we had to decide if we were going to continue or have to make a quick exit. Luckily I had a decent amount of layers with me in my bag – thankfully – so everything worked out okay.” A lack of shelter from the elements meant that Scott and the crew had to rely on the items on their backs to help protect them from hypothermia and illness.


Additional Considerations
The more time you can spend focusing on the scenery or the activity you are partaking in, the better the experience. Clothing is a big piece of the puzzle, and I hope this series has given you some helpful tips to help you enjoy your Canadian winter. Be sure to pack a snack and a beverage, keep your cell phone charged and in an inner pocket to stay warm (cell phone batteries will dramatically decline in cold weather) and bring along some company for some socially-distanced adventures. Pack a selfie stick so that you can get everyone in-frame and then throw some pictorial evidence of your brave adventures up on Instagram when you get home!
Thanks for reading! This blog series was inspired by a presentation I created for students and staff while working at the University of Alberta Augustana Campus. In 2019, thanks to generous donations from the community, the Library partnered with the Augustana Campus Recreation and Athletics Departments to support the opening of the Dr. Garry and Dorothy Gibson Nordic Ski Library. An updated version of this presentation is available on YouTube.
